Drpro Support

Pharmacy

Manage stock, generate invoices, track expiry, and speed up your pharmacy operations with automated tools. Ensure accuracy and keep your medicines updated with real-time inventory.

DrPro Help & Learning, Pharmacy

How to Manage Your Master Medicine List in DrPro Settings

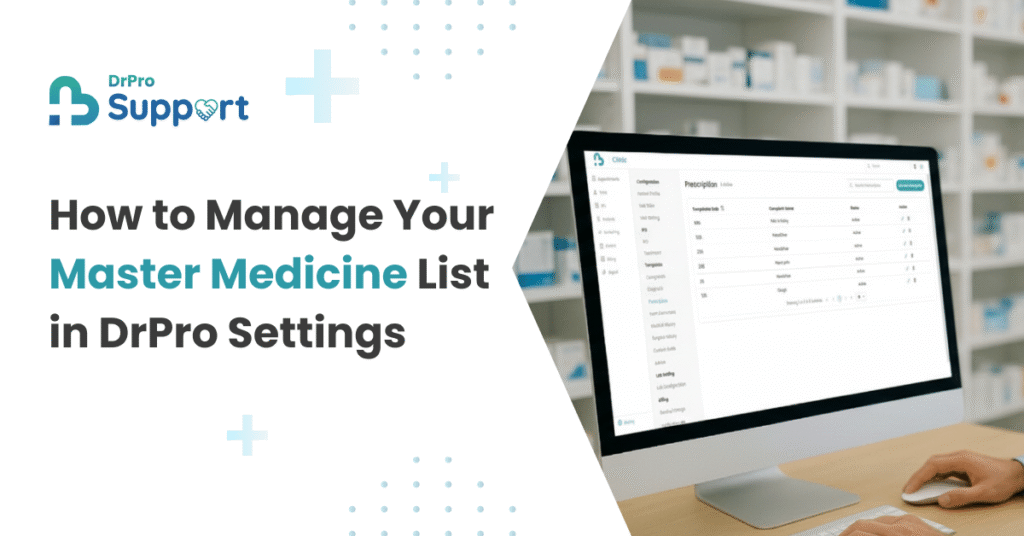
The foundation of an organized pharmacy is its master medicine database. This section in Settings is where you define every single product you can potentially stock or sell. Keeping this list accurate ensures that pricing, composition, and other details are consistent across your entire pharmacy operation.   Step-by-Step Guide Step 1: Navigate to the Medicine Settings   From the main sidebar on the left, click on the Setting icon at the bottom. The Medicine(s) list will be displayed as the primary configuration page for your pharmacy module.   Step 2: Understand Your Master Medicine List   This screen is your pharmacy’s complete formulary or master catalog. It is not your current stock, but rather the list of all medicines the system knows about. Each row contains crucial details: Name, Manufacturer, Marketer: Basic identification of the product. Composition: The active ingredients in the medicine. Pack Size & Quantity: Details on how the medicine is packaged. Rx Required?: A “Yes/No” flag indicating if a prescription is mandatory for dispensing. Price & Selling Price (โ‚น): The purchase cost and the retail price you charge customers (MRP).   Step 3: Add a New Medicine to the Master List   While not pictured, this screen would typically have an “Add New Medicine” button. Click this button to open a form for a new drug entry. Carefully fill in all the details, including the medicine’s name, manufacturer, composition, pack size, whether a prescription is required, and both the purchase and selling prices. Save the form. The new medicine will now be available to add to your stock and include in orders.   Step 4: Edit Existing Medicine Details   Over time, you may need to update information, such as a change in the selling price or a new marketer. Locate the medicine you need to update in the list. You can use the Search Medicine bar at the top to find it quickly. In the Action column on the far right, click the Edit (pencil) icon. A form or pop-up will appear, allowing you to modify all the details for that medicine. Make the necessary changes and save them. The master list will be updated instantly. ๐Ÿ‘‰ With your master list in order, you’re ready to manage your live inventory. Check out our guide on How to Manage Your Pharmacy Stock in DrPro.

DrPro Help & Learning, Pharmacy

How to Analyze Your Pharmacy Performance with DrPro Reports

Understanding your pharmacy’s performance is key to making informed business decisions. The Pharmacy Report section in DrPro provides powerful insights into your sales, top-selling products, doctor referrals, and tax collections, all in one place.   Step-by-Step Guide     Step 1: Navigate to the Reports Section   From the main sidebar on the left, click on Pharmacy and then select Pharmacy Report. This will open the main reporting dashboard.   Step 2: Select Your Desired Timeframe   At the top of the page, you can filter all reports by a specific period. Choose from predefined options like 1 Month, 3 Months, 6 Months, or 12 Months, or use the Date Range Picker to select a custom date range for your analysis.   Step 3: Explore the Different Report Types   The reporting tool is organized into several tabs, each offering a unique perspective on your business: 1. All Report (The Main Dashboard) This is your at-a-glance overview of the pharmacy’s key performance indicators. It visualizes important data like: Top Selling Medicines: A bar chart showing your most popular products by revenue, helping you identify what to keep in stock. Doctor Revenue: Tracks the revenue generated from prescriptions by specific doctors. 2. Sales Report This tab focuses purely on your sales performance. It provides key financial metrics: Total Revenue: The total amount of money generated from sales. Total Orders: The number of transactions completed. Average Order Value: The average amount spent per order. The Monthly Revenue Report graph gives you a visual breakdown of your gross revenue, net revenue, and discounts over time. 3. Doctor Referrals Report This report helps you understand the value of your relationships with referring doctors. Key metrics include: Total Referrals: The total number of orders referred by doctors. Active Doctors: The number of doctors who have sent prescriptions. Referrals Revenue: The total revenue generated from these referrals. The Monthly Referral Trends graph shows you how this channel is performing over the selected timeframe. 4. GST Report Essential for financial accounting and tax compliance, this report summarizes your GST collections: Total Sales & Net Sales: Sales figures before and after tax. Total GST: The total amount of GST collected. GST Rate: The effective GST rate on your sales. The Monthly GST Collection graph visually tracks the tax collected over time.   Step 4: Download Your Reports   On each report tab, you will find a Download Report or Download button. Click this to export the data as a file (e.g., PDF or CSV), which you can use for offline analysis, accounting, or record-keeping. ๐Ÿ‘‰ Analyzing reports can help you make better purchasing decisions. Check out our guide on How to Manage Your Pharmacy Stock in DrPro!

DrPro Help & Learning, Pharmacy

How to Manage Your Pharmacy Stock in DrPro

Effective stock management is vital for any pharmacy to prevent shortages, track expiry dates, and ensure medications are always available for patients. The Stock Management section in DrPro is your central hub for controlling your entire inventory. Step-by-Step Guide     Step 1: Navigate to the Stock Management Section   From the main sidebar on the left, click on Pharmacy and then select Stock. This will open your main inventory dashboard.   Step 2: Understand Your Stock Dashboard   The dashboard provides an immediate overview of your inventory status: Summary Cards: At the top, youโ€™ll find a quick summary: Current Stock: The total number of unique items available. Running Low: Items that have reached their pre-defined alert level. Out of Stock: Items that are completely unavailable. Main List: This table shows all your inventory items with details like Medicine Name, Current Stock, Price, MRP, and your set Alert Stock.   Step 3: Add a New Item to Your Inventory   To add a new medication or product to your stock for the first time: Click the Add New Item button in the top-right corner. An “Add New Item” pop-up will appear. Fill in the following details: Select Item: Choose the medicine from your master list. If itโ€™s a brand-new medication that doesnโ€™t exist in the system yet, you can click the + Item button to add it to your master database first. Quantity: Enter the total number of units you are adding to your stock. Alert stock: Set the minimum quantity threshold. When the stock level drops to this number, the item will appear in the “Running Low” category. Expiry date & Batch number: Enter these crucial details for tracking and safety. Click Save to add the item to your inventory.   Step 4: View, Search, and Manage Your Stock   Once added, the medicine will appear in your stock list. Use the Search Medicine bar to quickly find any item in your inventory. The Action column will allow you to make adjustments, view history, or update details for each item. For larger updates, you can use the Bulk items stock in and Bulk items stock out features to efficiently manage large quantities of multiple items at once. ๐Ÿ‘‰ Ready to dispense medication from your updated inventory? Check out our guide on How to Manage Pharmacy Orders in DrPro.

DrPro Help & Learning, Pharmacy

How to Manage Patients in the DrPro Pharmacy Module

Maintaining an accurate and easily accessible patient database is essential for any pharmacy. The Patients section in DrPro provides a comprehensive platform to manage patient information and view their complete prescription history, ensuring safe and efficient service. Step-by-Step Guide     Step 1: Navigate to the Patients Section   From the main sidebar on the left, click on Pharmacy and then select Patients. This will open your pharmacy’s central patient database.   Step 2: Add a New Patient   To add a new person to your records: Click the + Add Patient button located in the top-right corner. A pop-up form will appear. Fill in the patient’s necessary details, such as their Full Name, Age and/or Birth Date, Gender, and other contact information. Click Add Patient to save the record. The new patient will now be visible in your main list.   Step 3: View and Search Your Patient List   The main screen displays a list of all your patients, showing their name, contact details, and address. To quickly find a specific patient, simply type their name or phone number into the Search Patient bar at the top.   Step 4: Access Detailed Patient Information and History   To get a complete view of a patient’s profile and their interactions with your pharmacy, click View Patient in the “Action” column. A detailed pop-up will open with two tabs: Patient Info: This tab contains all the demographic information for the patient. You can view their general contact details, address, employment information, and any other custom data fields. Pharmacy Orders: This is a vital feature for pharmacists. This tab displays a complete history of all prescriptions and orders dispensed to that patient. You can instantly see the order number, prescribing doctor, and the status of each transaction, providing a full overview of their medication history. ๐Ÿ‘‰ Ready to create a new prescription for a patient? Head over to our guide on How to Manage Pharmacy Stock in DrPro!

DrPro Help & Learning, Pharmacy

How to Manage Pharmacy Orders in DrPro

The Orders section is the core of your pharmacy operations in DrPro. It’s where you handle all patient prescriptions, manage walk-in sales, track payments, and maintain a clear record of dispensed medications. Step-by-Step Guide     Step 1: Navigate to the Pharmacy Orders Dashboard   From the main sidebar on the left, click on Pharmacy and then select Orders. This opens your main dashboard for all pharmacy transactions.   Step 2: Understand the Orders Dashboard   Your dashboard is organized to give you a clear view of your workflow: Tabs: Open Order: This is your active list, showing all pending prescriptions and orders that are yet to be completed and paid for. Completed: A history of all successfully processed and paid orders. Order List: Displays key details for each order, including the Order #, Date, Patient Name, Prescribing Doctor, and current Status. Search: Use the Search #Order bar to quickly find a specific transaction.   Step 3: Create a New Walk-in Order   Click the + Walk-in Order button in the top-right corner. An order creation screen will pop up. Fill in the top section: Select Patient: Choose the patient from your database. Enter Doctor Name: Input the name of the prescribing or referring doctor. Upload Result: Use this to upload a scanned copy of the physical prescription for your records. Add items to the order: Select Medicine: Find and choose the required medication from your inventory. Qty: Enter the quantity being dispensed. Click + Add Item. The medicine will be added to the list below, with details like price and subtotal automatically calculated. Repeat the process to add all required medicines to the order.   Step 4: Manage and Finalize an Order   Whether you’ve just created a new order or are managing an existing one (by clicking the “Action” icon from the dashboard), the process concludes in the Order Detail view. Review the Order Summary: Check the list of items, quantities, and prices. Apply Discounts: If needed, you can enter an Additional Discount percentage in the billing section on the right. The Grand Total will update instantly. Choose Final Actions (Optional): Check Send Prescription on Whatsapp to send a digital copy to the patient. Check Print Invoice to generate a physical receipt. Complete the Transaction: Click the Add Payment button to record the payment and finalize the sale. This will automatically move the order from the “Open Order” tab to the “Completed” tab. ๐Ÿ‘‰ Continue learning with our next guide: How to Manage Your Pharmacy Stock in DrPro.

Scroll to Top